Attention
You can now run different PHP versions per project:
Release v3.0.0-beta-0.1 ![]()
Setup ProcessWire
This example will use composer to install ProcessWire from within the Devilbox PHP container.
Important
Using composer requires the underlying file system to support symlinks. If you
use Docker Toolbox you need to explicitly allow/enable this.
See below for instructions:
- Docker Toolbox and Symlinks
After completing the below listed steps, you will have a working ProcessWire setup ready to be served via http and https.
See also
Table of Contents
Overview
The following configuration will be used:
| Project name | VirtualHost directory | Database | TLD_SUFFIX | Project URL |
|---|---|---|---|---|
| my-pw | /shared/httpd/my-pw | my_pw | loc | http://my-pw.loc https://my-pw.loc |
Note
- Inside the Devilbox PHP container, projects are always in
/shared/httpd/. - On your host operating system, projects are by default in
./data/www/inside the Devilbox git directory. This path can be changed via HOST_PATH_HTTPD_DATADIR.
The following Devilbox configuration is required:
| Service | Version | Implications |
|---|---|---|
| Webserver | Apache 2.4 | Apache is required instead of Nginx as ProcessWire provides default .htaccess files for routing |
| PHP | PHP-FPM 7.2 | Chosen for this example as it is the Devilbox default version |
| Database | MariaDB 10.3 | Chosen for this example as it is the Devilbox default version |
Note
If you want to use Nginx instead, you will need to adjust the vhost congfiguration accordingly to ProcessWire requirements.
Walk through
It will be ready in eight simple steps:
- Enter the PHP container
- Create a new VirtualHost directory
- Install ProcessWire via
composer - Symlink webroot directory
- Setup DNS record
- Open your browser
- Step through guided web installation
1. Enter the PHP container
All work will be done inside the PHP container as it provides you with all required command line tools.
Navigate to the Devilbox git directory and execute shell.sh (or shell.bat on Windows) to
enter the running PHP container.
host> ./shell.sh
2. Create new vhost directory
The vhost directory defines the name under which your project will be available.
( <vhost dir>.TLD_SUFFIX will be the final URL ).
devilbox@php-7.0.20 in /shared/httpd $ mkdir my-pw
See also
3. Install ProcessWire
Navigate into your newly created vhost directory and install ProcessWire with composer.
devilbox@php-7.0.20 in /shared/httpd $ cd my-pw
devilbox@php-7.0.20 in /shared/httpd/my-pw $ composer create-project processwire/processwire
How does the directory structure look after installation:
devilbox@php-7.0.20 in /shared/httpd/my-pw $ tree -L 1
.
└── processwire

1 directory, 0 files
4. Symlink webroot
Symlinking the actual webroot directory to htdocs is important. The web server expects every
project’s document root to be in <vhost dir>/htdocs/. This is the path where it will serve
the files. This is also the path where your frameworks entrypoint (usually index.php) should
be found.
Some frameworks however provide its actual content in nested directories of unknown levels. This would be impossible to figure out by the web server, so you manually have to symlink it back to its expected path.
devilbox@php-7.0.20 in /shared/httpd/my-pw $ ln -s ln -s processwire htdocs
How does the directory structure look after symlinking:
devilbox@php-7.0.20 in /shared/httpd/my-pw $ tree -L 1
.
├── processwire
└── htdocs -> processwire

2 directories, 0 files
As you can see from the above directory structure, htdocs is available in its expected
path and points to the frameworks entrypoint.
Important
When using Docker Toolbox, you need to explicitly allow the usage of symlinks. See below for instructions:
- Docker Toolbox and Symlinks
5. DNS record
If you have Auto DNS configured already, you can skip this section, because DNS entries will be available automatically by the bundled DNS server.
If you don’t have Auto DNS configured, you will need to add the following line to your
host operating systems /etc/hosts file (or C:\Windows\System32\drivers\etc on Windows):
127.0.0.1 my-pw.loc
6. Open your browser
Open your browser at http://my-pw.loc or https://my-pw.loc.
7. Step through guided web installation
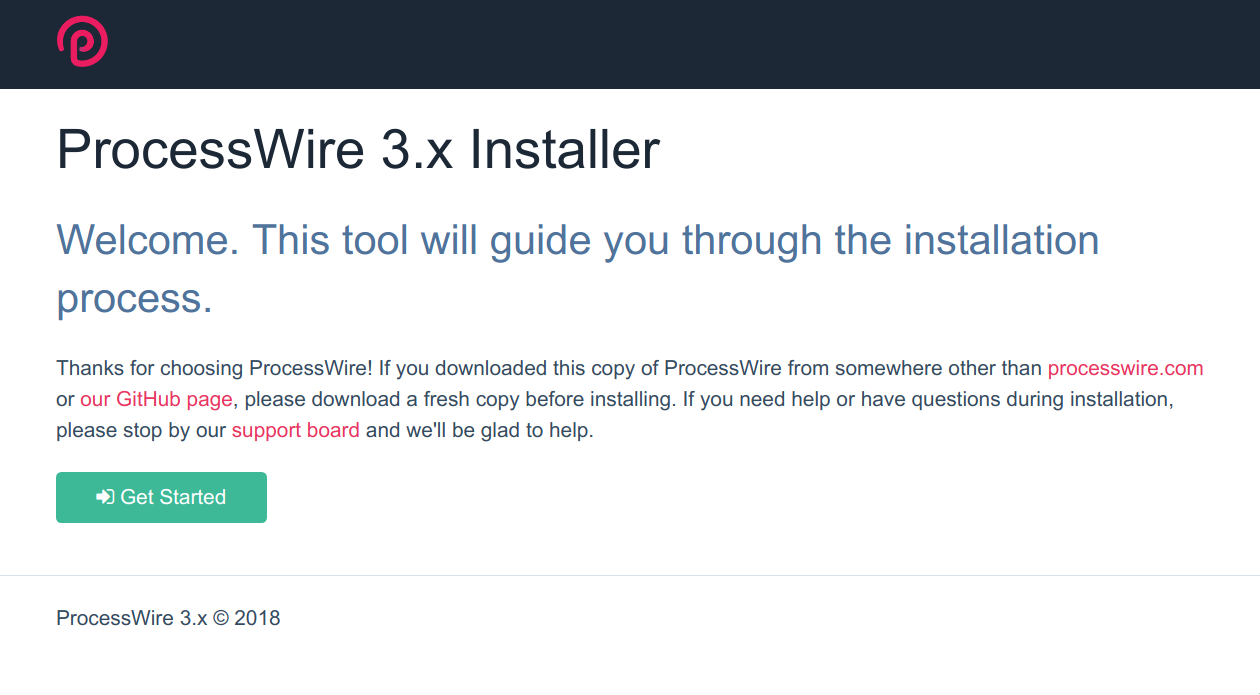
ProcessWire installation: Overview
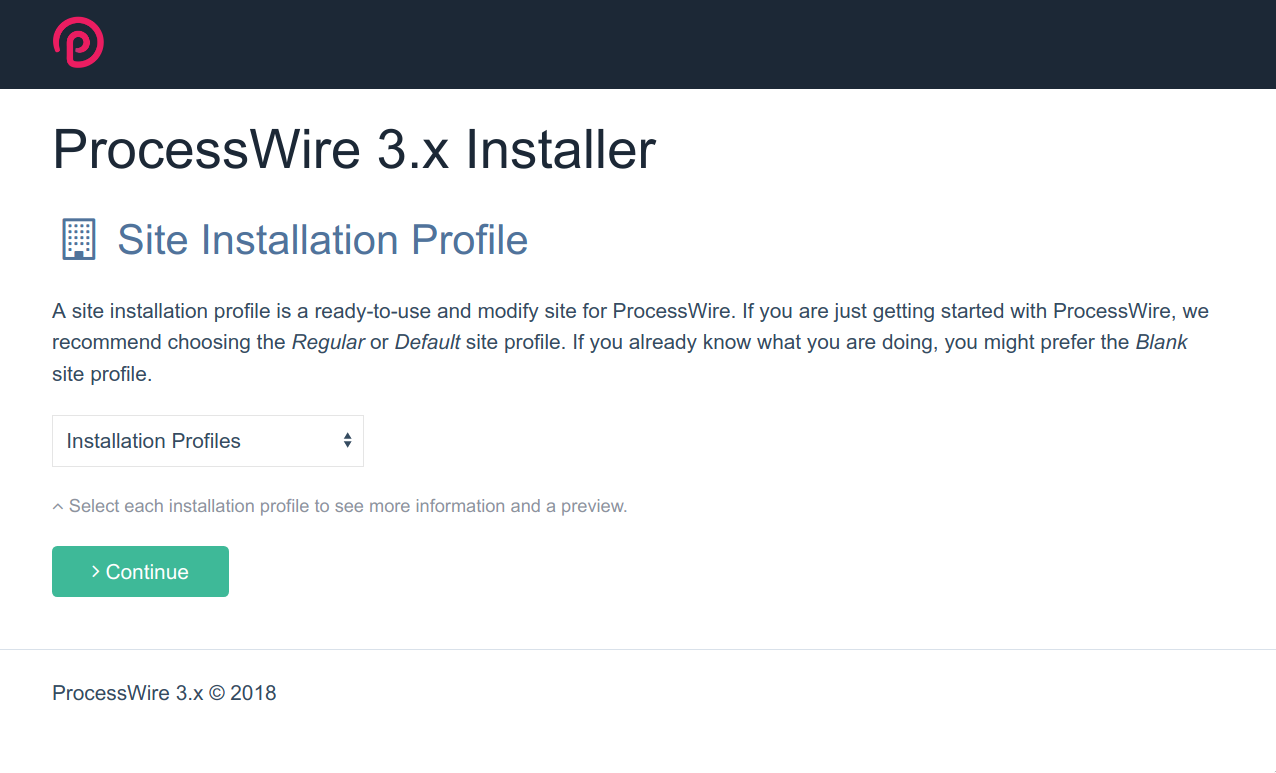
ProcessWire installation: Profile Choice
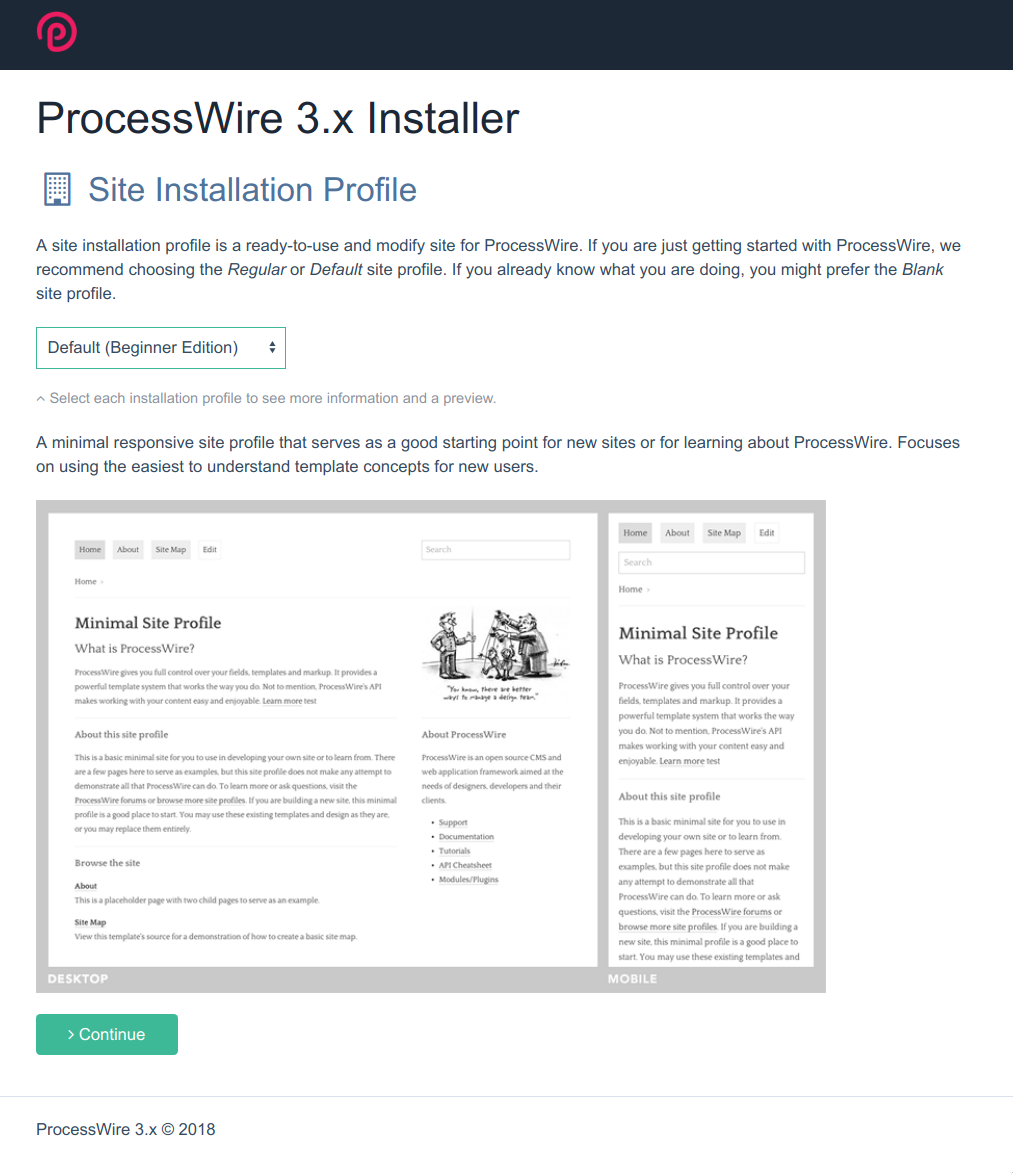
ProcessWire installation: Choose Default Profile
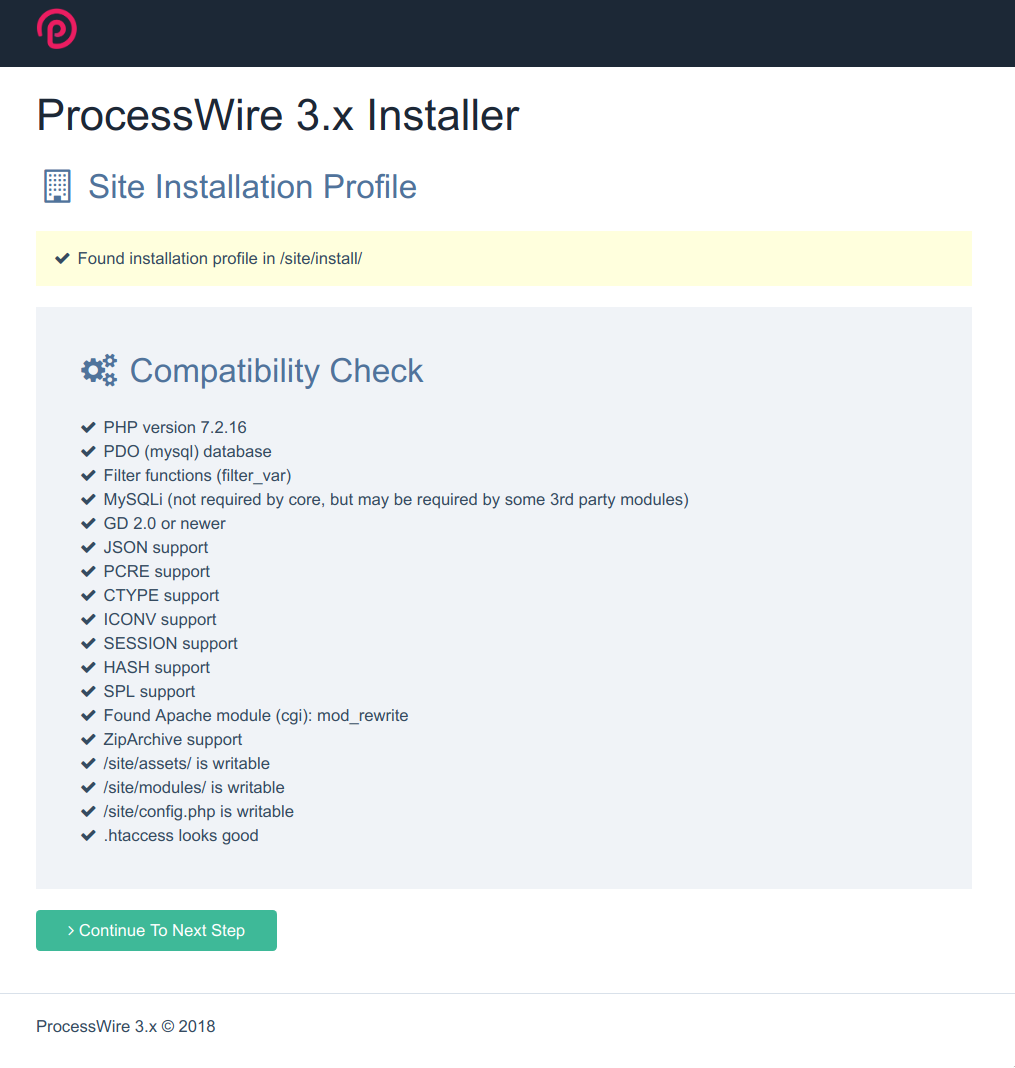
ProcessWire installation: Compatibility Check
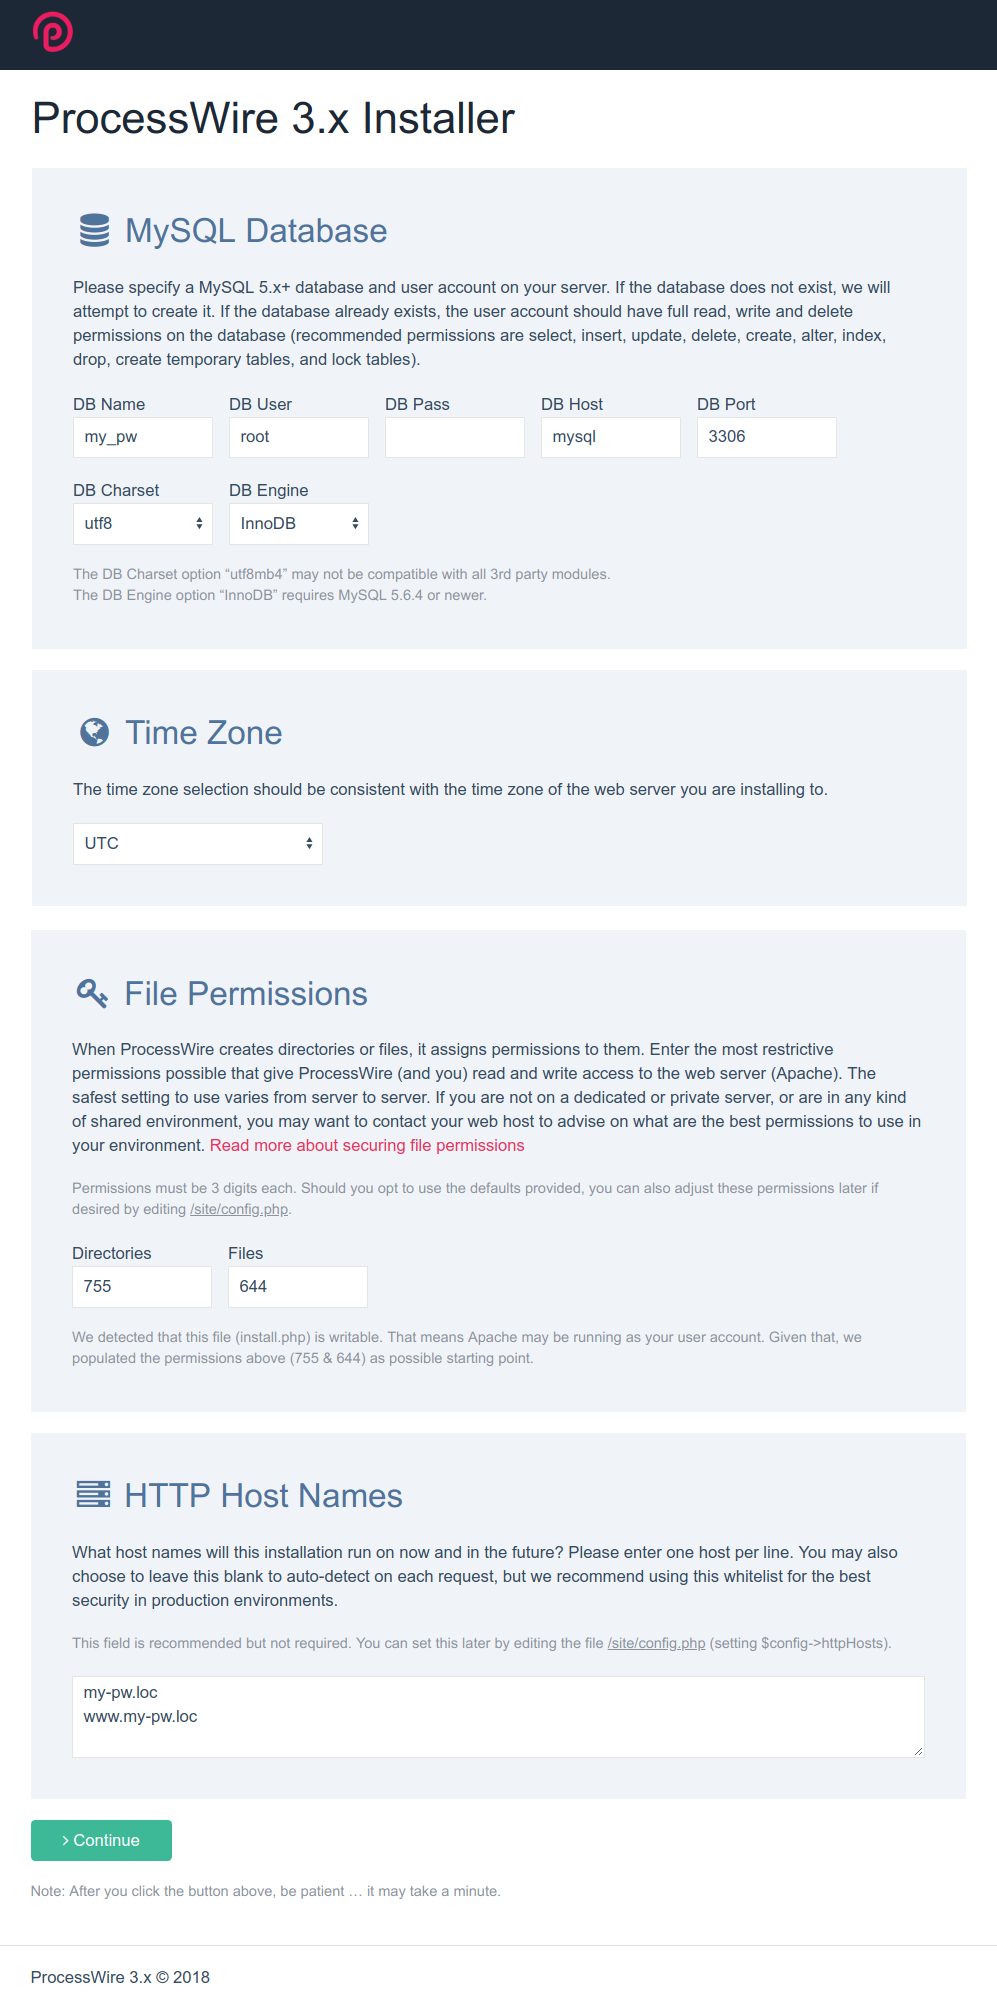
ProcessWire installation: General Setup
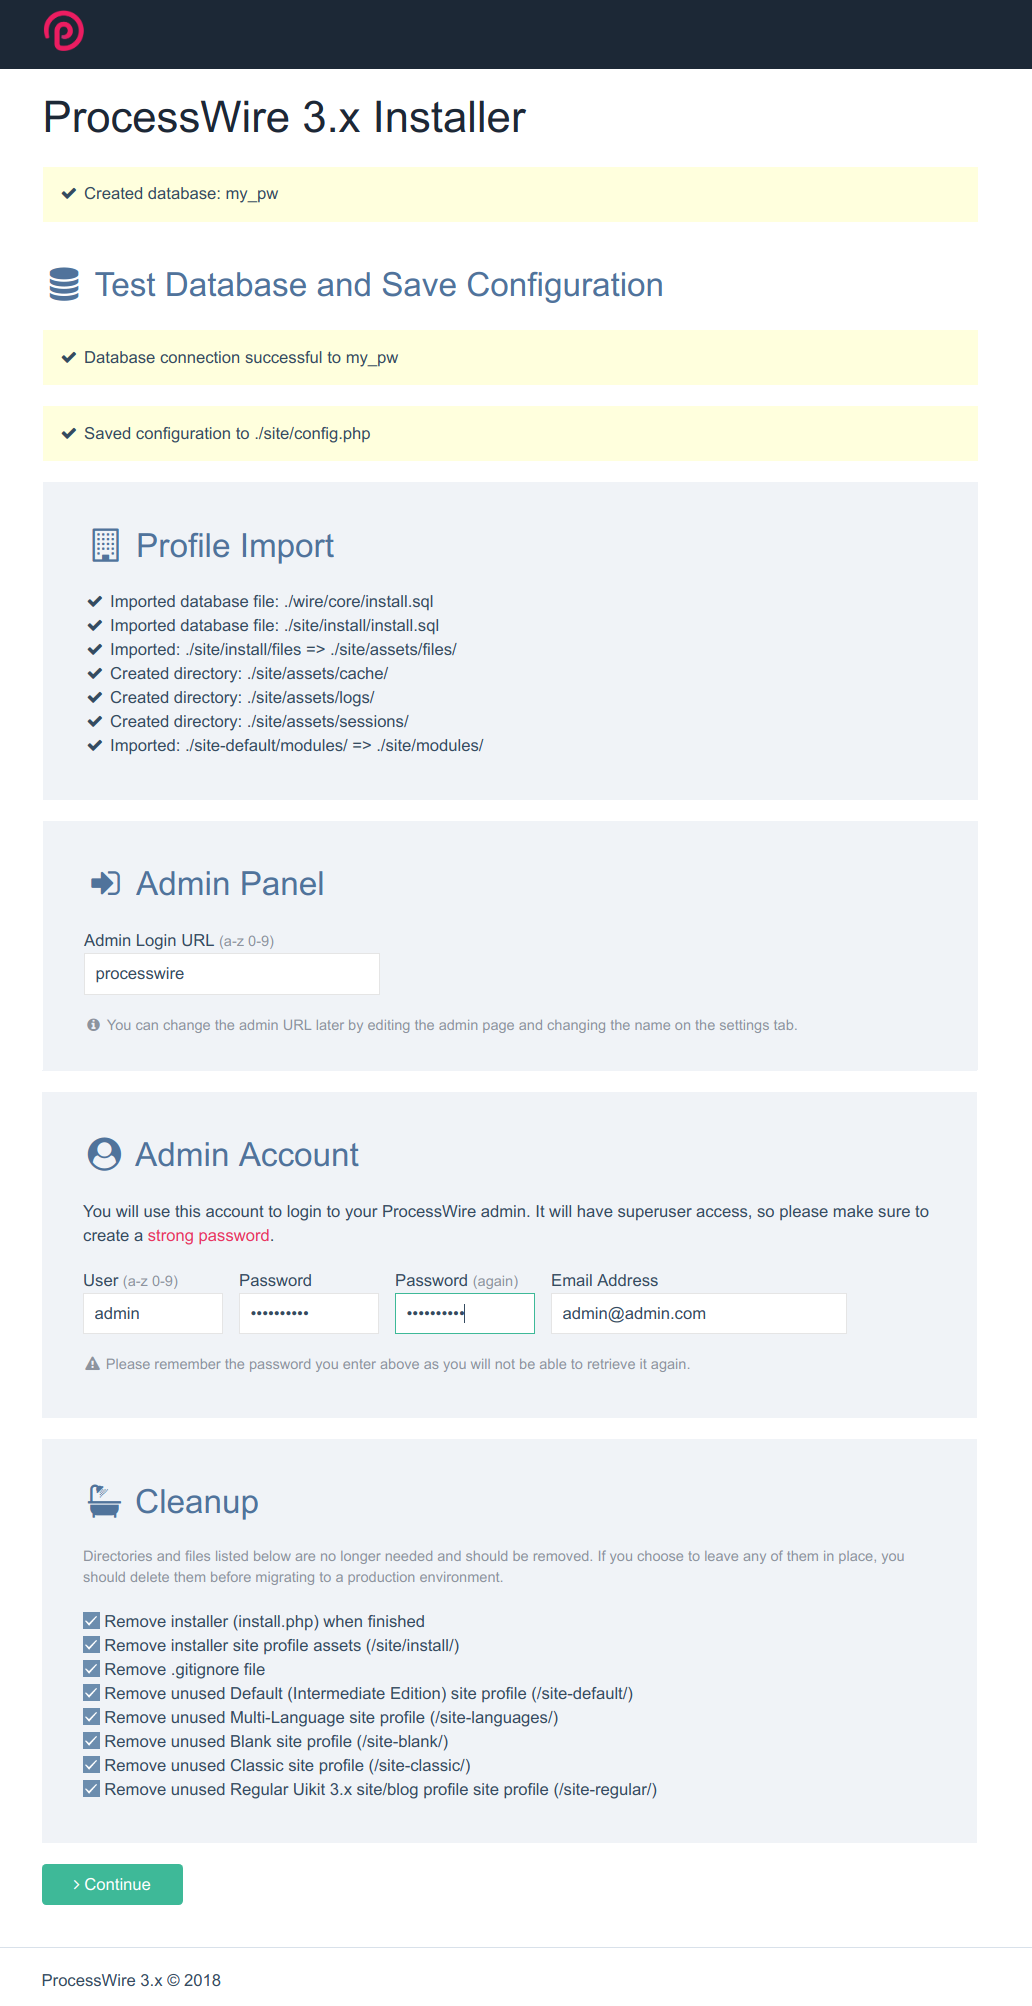
ProcessWire installation: Admin Setup
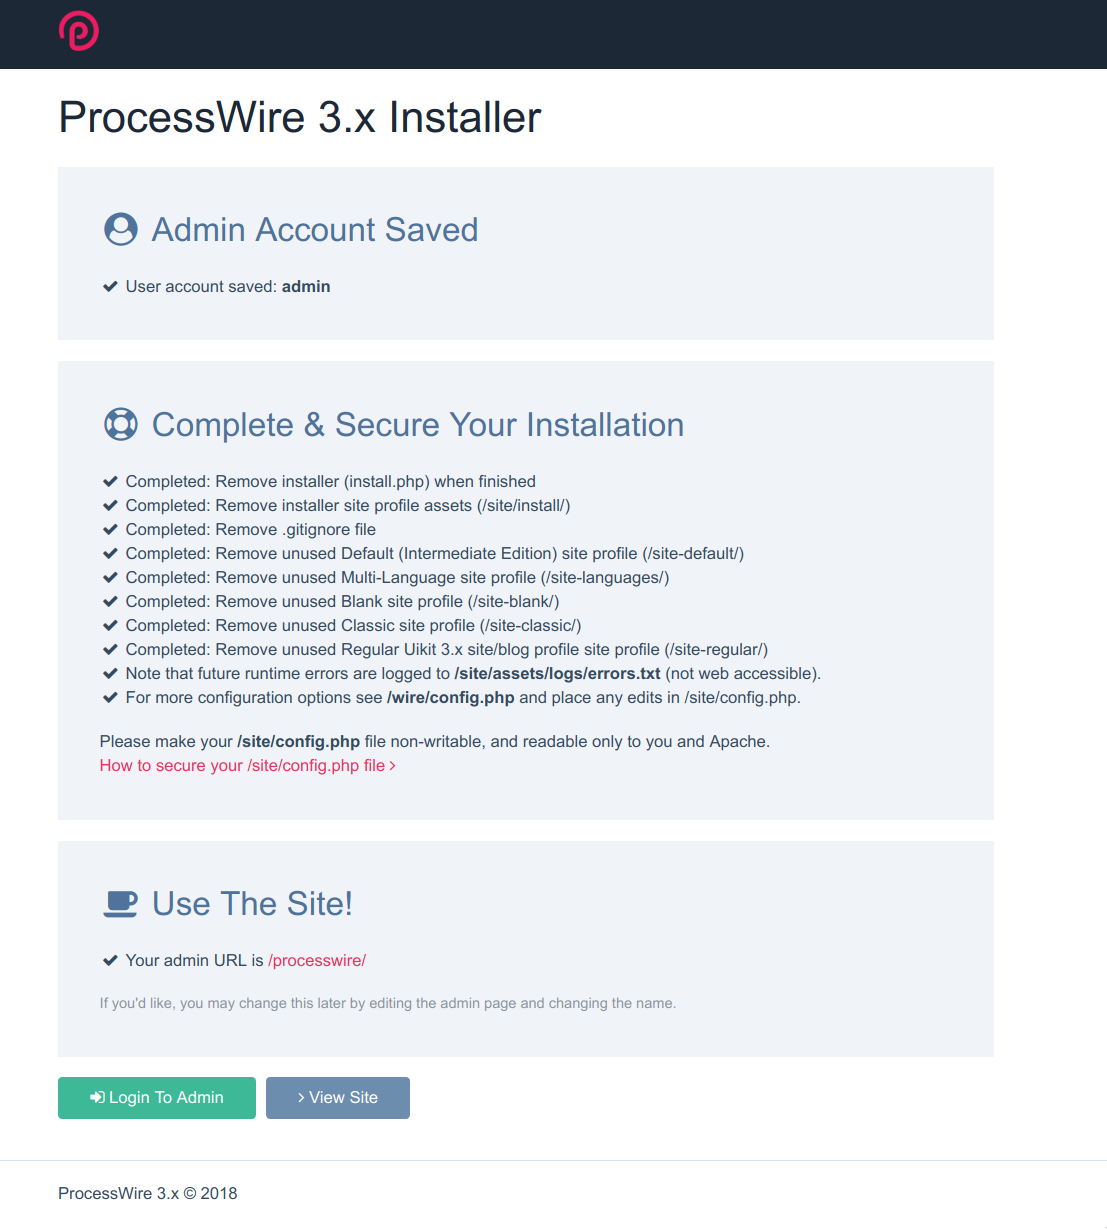
ProcessWire installation: Setup completed
Next steps
Once everything is installed and setup correctly, you might be interested in a few follow-up topics.
Use bundled batteries
The Devilbox ships most common Web UIs accessible from the intranet.
Enhance the Devilbox
Go ahead and make the Devilbox more smoothly by setting up its core features.
Add services
In case your framework/CMS requires it, attach caching, queues, database or performance tools.